
View, correct and export timesheets
Review hours by day, week or month, open a day for the details, add notes, request a fix for a wrong or missing entry, and export a timesheet to CSV.
On this page
Timesheets shows the hours recorded when people clock in and out, by day, week or month. Members see their own hours. Admins see everyone, and team leads see the teams they lead.
Open Timesheets
In the sidebar, under Time & Reports, select Timesheets. The subtitle reads “Your hours, breaks and notes” for members and “Track and analyze team work hours” for admins and team leads. A member on a team also sees their team’s name next to the title.
The page has three parts: a summary strip, the period controls, and the sheet itself.
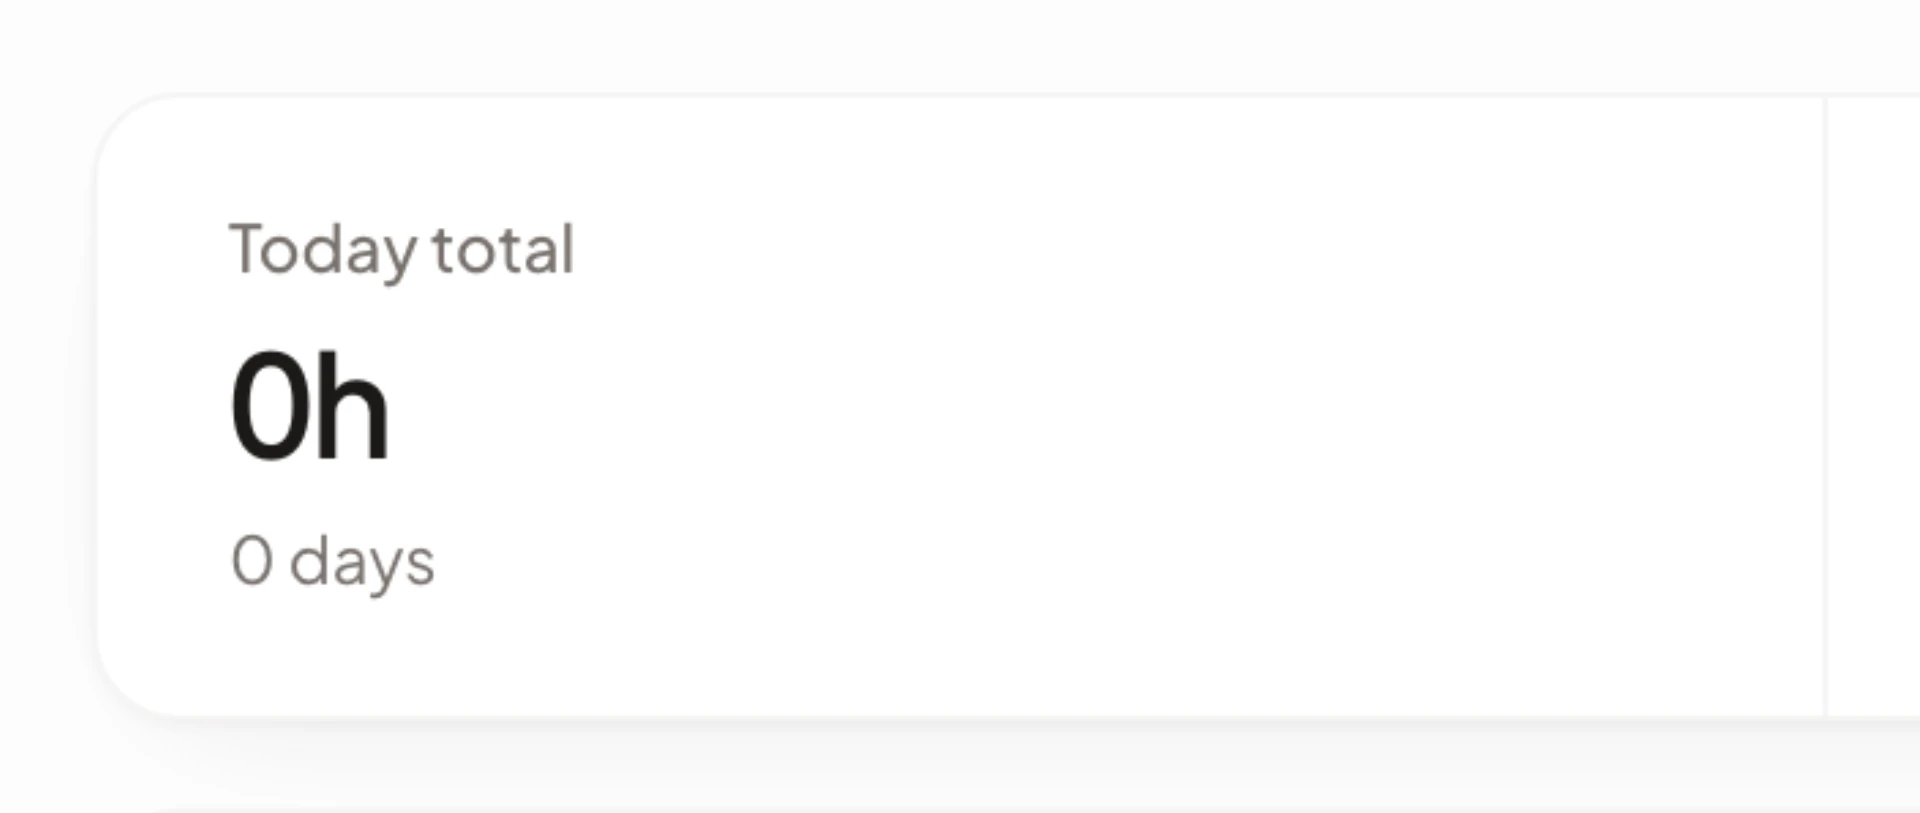
Read the summary
The four figures above the sheet cover the period you are looking at, and for admins and team leads they cover everyone in view:
| Figure | What it shows |
|---|---|
| Today total, Day total, Week total or Month total | Hours worked in the period, with the number of people (team view) or days worked. |
| Average day | Hours per day worked, or per person per day worked in a team view. |
| On time | The share of clock-ins that were on time, for example “9 of 10 clock-ins”. It shows “No clock-ins yet” when there are none, and it leaves out people on a flexible schedule. |
| Hours above schedule | Hours worked beyond the schedule, or “No overtime recorded”. |
Switch between day, week and month
- Choose Day, Week or Month in the view picker.
- Use the arrows to move to the previous or next period. The left and right arrow keys do the same from anywhere on the page.
- To return to now, select the middle button, which reads Today, This Week or This month.
- To go to a particular date, select the calendar icon (Jump to a date) and pick it.
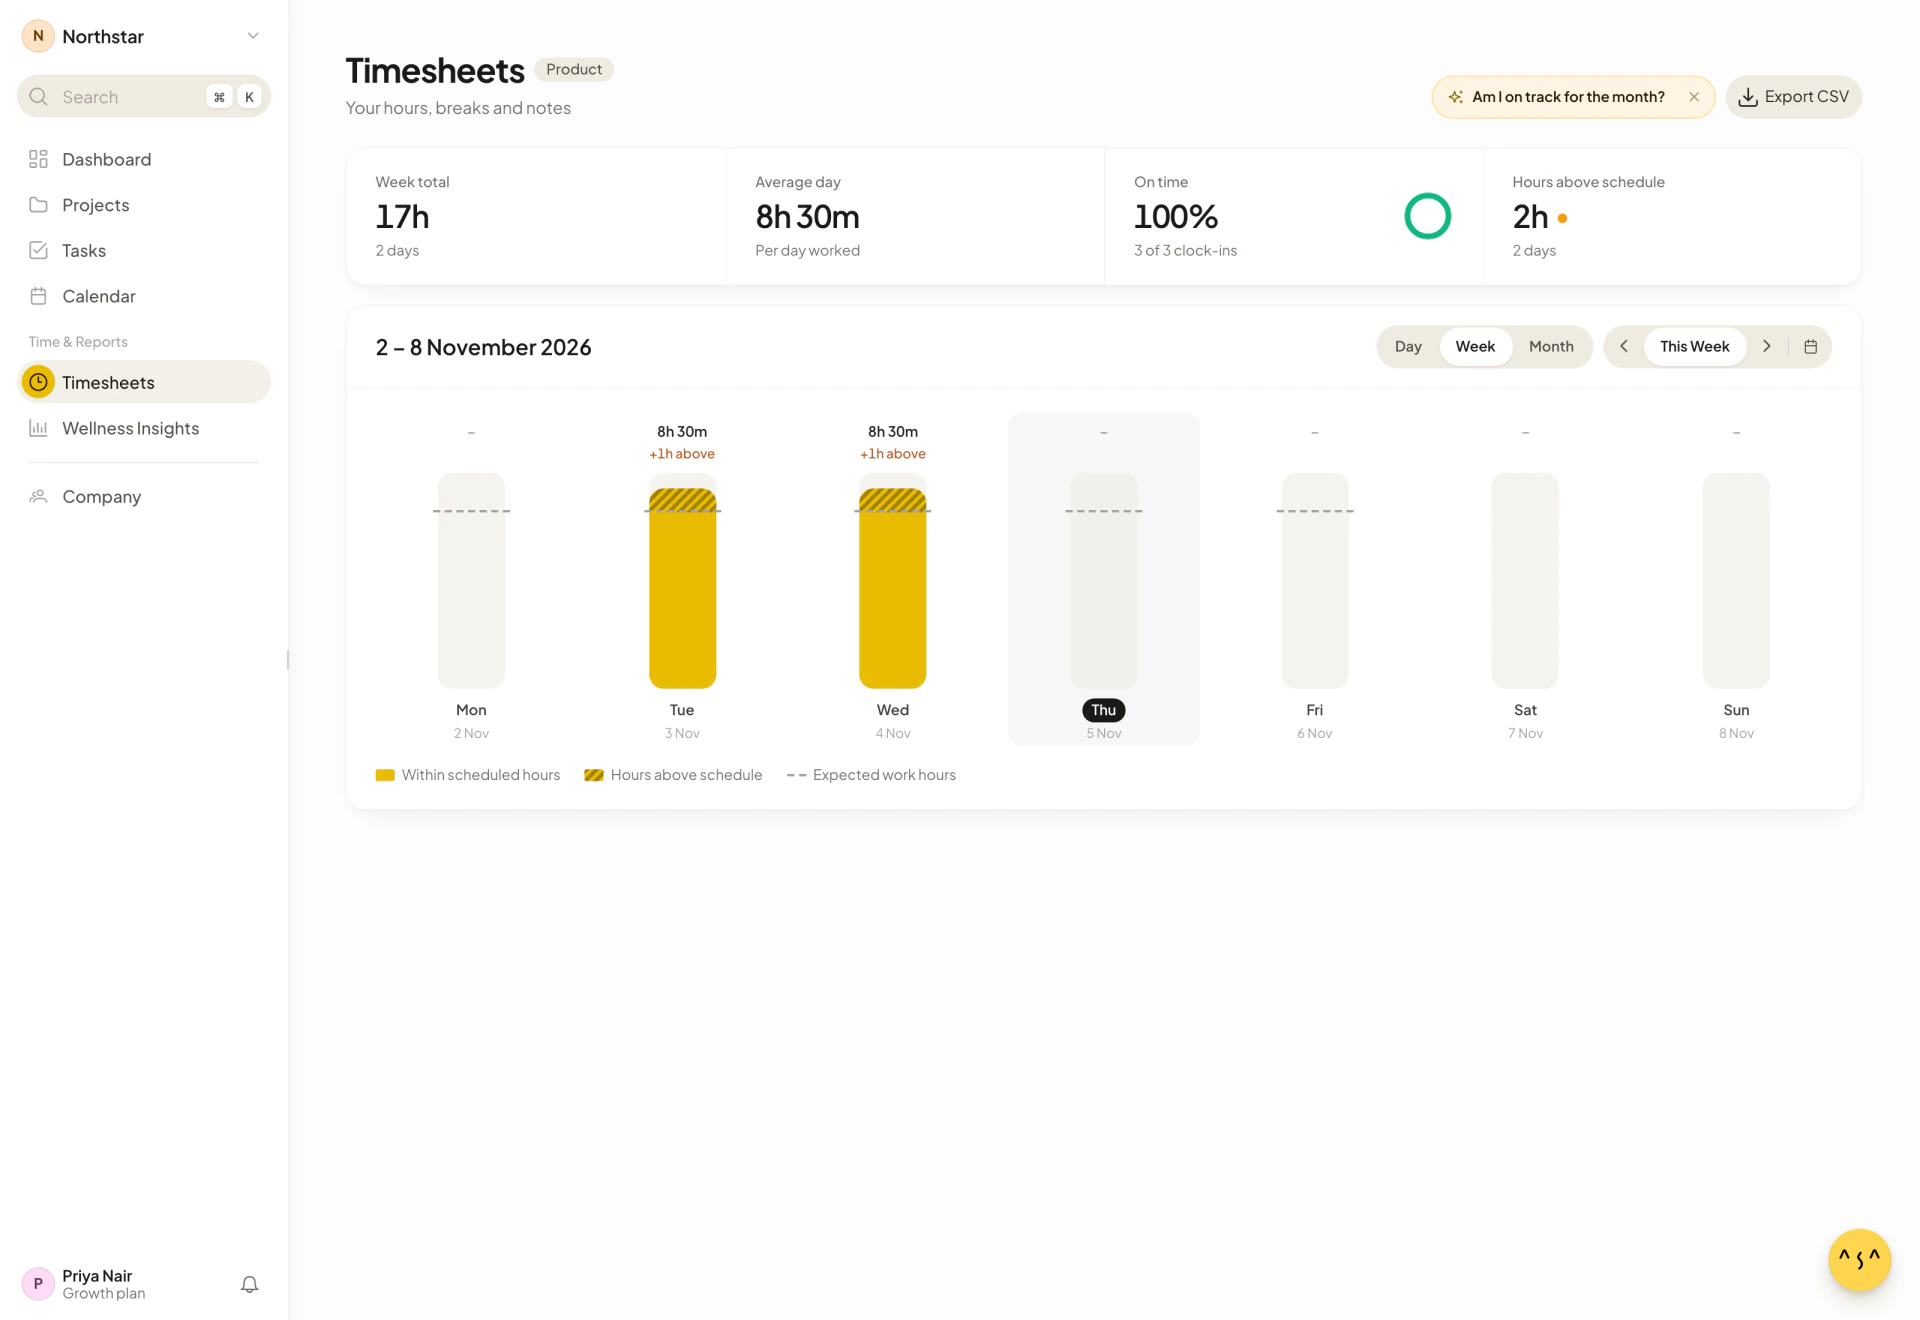
All three views share one date. If you are on 1 January in Day view and switch to Week, you see the week that contains 1 January.
What each view shows
- Day draws each person’s day as a timeline across the hours, with worked time, breaks and the Expected work hours from their schedule. A Designated break is the break the schedule allows, and Break taken is what was recorded. Hours outside the schedule are labelled Outside scheduled hours, and time inside it Within scheduled hours. When people are still clocked in, a marker shows Now.
- Week shows a bar for each day against a dashed line for the scheduled hours, with hours above schedule marked “+{hours} above”. Admins and team leads also get a table by person. Select people in the table to choose who is drawn in the chart, and Show everyone to reset.
- Month is a calendar. Each day is shaded by hours worked, late clock-ins are flagged Late, and days with notes show how many.
If you clocked in a moment ago and your sheet is still empty, it says “You clocked in at {time}. This session will show up here once you clock out.”
Filter and search (admins)
Admins can narrow the sheet with two controls at the top right:
- Search people filters the list by name.
- The team menu, which starts on All Teams, shows one team. It only appears when your company uses teams.
The summary and sheet update to match. Team leads are limited to the teams they lead and do not get these controls.
Open a day for details
Select a day to open its detail window. In Day view, select a person’s row. In Week view, select a day’s bar, or one person’s cell in the table. In Month view, select a day with hours.
The window shows:
- the hours worked and, when a schedule applies, whether the day is “On schedule”, “{duration} over schedule” or “{duration} under schedule”;
- the day as a timeline of clock-ins, breaks and clock-outs, with the time of each, a map pin for entries that captured a location, and the gaps between them such as “{duration} break”;
- the day’s note, if there is one;
- for companies that track projects, the day’s project hours.
For an admin or team lead, selecting a day without choosing a person lists the people in scope. Select a person to expand their day. From a single person’s day, All members goes back to the list. View full timesheet takes you to that day in the Day view.
If the window cannot load, you see “Couldn’t load this day’s activity” with Retry.
You can open any day in Week view, including days with no hours. Month view only opens days that have hours, and Day view can show just “No hours logged today” with nothing to select. To request an entry for an empty day, use Week view.
Add a note to a day
Notes explain a day, for example overtime, a missed break or a schedule change. Only you can add or edit your own note. Admins can read members’ notes but cannot change them.
- Open the day.
- Select Add note. If the day already has one, select Edit note, or View note when you are only allowed to read it.
- Type up to 500 characters and select Save note.
Asa confirms with “Note saved successfully”. To remove a note, open it and select Delete note.
Fix a wrong or missing entry
You cannot change a clock entry directly. You ask for a change and an admin or team lead approves it. The full process, including what reviewers see, is in Time corrections.
From your own day:
- Edit an entry. Select the pencil next to the entry (Request edit).
- Delete an entry. Select the trash can next to the entry (Request deletion).
- Finish an open session. An entry with no end shows “No clock-out recorded” or “No break end recorded”, and time after it is not counted until the entry is added. Select Request clock-out or Request break end. These buttons do not appear for today.
- Add an entry for an empty day. Select Request a missing entry. The empty day says “No clock entries for this day”.
Each of these opens the request form with the entry already filled in. Once a request is waiting, the entry shows “Awaiting approval”, “Change to {time} awaiting approval” or “Removal awaiting approval”, and its edit and delete icons are hidden until it is decided.
Admins and team leads cannot edit another person’s entries from Timesheets. Each person asks for their own corrections.
Export a timesheet to CSV
- Select Export CSV at the top right of the page.
- In Export Timesheets, choose Month and pick the month, or choose Custom range and pick a start and end date.
- Admins on a company with teams can also pick a Team. The default is All Teams.
- Select Export CSV.
The file downloads as company-name-timesheet-2026-10.csv, with the month, or the start and end dates for a custom range, and the team name added when you filtered by one. Asa shows “Exported {count} rows” when it finishes.
A custom range cannot end after today and is limited to 31 days. If you pick a longer one, the dialog says “Choose a pay period of 31 days or less.” If nothing falls in the range you see “No timesheet data to export for the selected options”.
There is one row per person. The columns are:
| Column | Contents |
|---|---|
Employee Name |
The person’s name. |
Team |
Their team, only when your company uses teams. |
| One column per date | Hours worked that day to one decimal place, or - for none. |
Expected Hours |
Hours the schedule expected in the range. |
Worked Hours |
Total hours worked. |
Variance |
Worked minus expected, with a + when positive. |
Notes |
The day notes in the range, as month/day: note, separated by ` |
Members export their own hours. For payroll, use Pay runs, which produces a file for your payroll provider. For other reports, see Reports.